Connect Your System to OIC
Overview
Before you can import OIC Projects and their integrations into your OIC API catalog, you must first configure the system to connect to your Integration Instance and set-up authentication for it.
You will need to following information to complete the configuration:
OIC Integration Instance identifier: ID that uniquely identifies the OIC Service Instance you want to connect to an import content from into the OIC catalog.
For example:aaaa-amaa-amaaaaaacxr-am
Note that you can find this value on the About box of your OIC instance: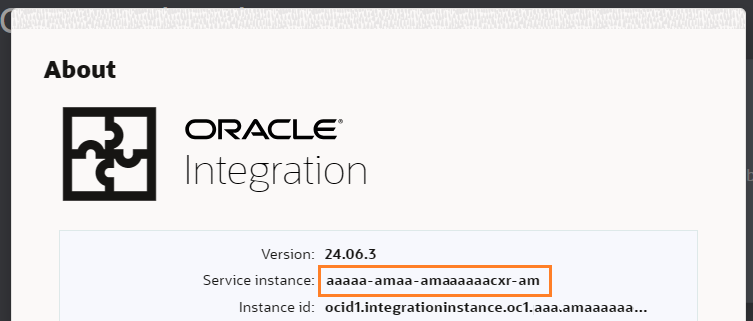
OIC URL: Base-URL of the OIC instance you want to connect to.
For example:https://design.integration.us-phoenix-1.ocp.oraclecloud.comToken URL: Location of the OAuth2 authorization server.
For example:https://idcs-10809f41179d4b6982340a8220a8558c.identity.oraclecloud.com/oauth2/v1/tokenClient ID: OAuth2 client identifier of the OIC application.
For example: d0beacfcd601f4ec2a8ad415cab24b60Client Secret: OAuth2 application client secret.
Scopes: A list of OAuth2 scopes required for the OIC application access.
Getting Started
To configure the OIC connection and authentication, log into the catalog and, from the home screen, click the Import tile:
and on the import screen, click OIC Import:
The following message should appear, indicating that the system is not configured:

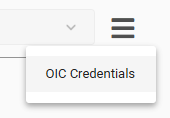
From the hamburger Actions menu on the right, select OIC Credentials:
The following screen should appear:
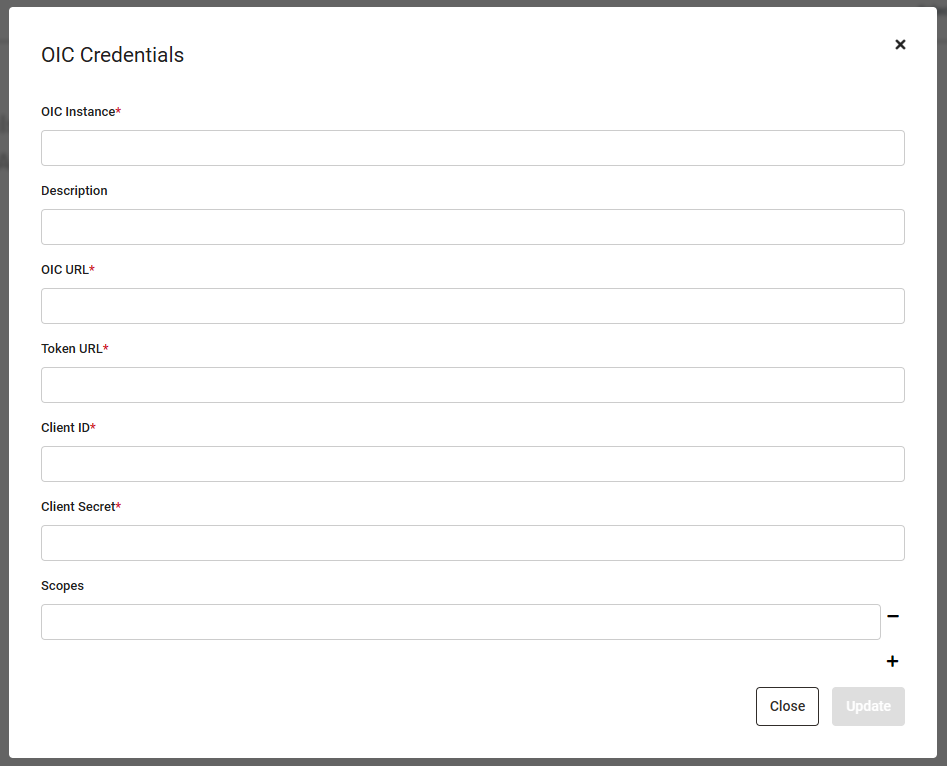
Enter all the relevant values and click Update. If the configuration is not successful, a message will appear indicating the problem. Once successful, after update, the credentials screen will close and you should find a list of Projects in your OIC instance displayed on the page:

Your OIC API Catalog is now connected and ready for use.
Additional Resources
Conclusion
Your OIC API Catalog and Portal system needs to be connected to your existing OIC environment to import Projects and Integrations into your catalog, ready for management and promotion to the Consumer Portal.
.png)